
Our All in One Donation and Tribute Template allows you to set up a donation form to either collect general donations as a stand alone, Tribute Giving or all 3 options. This article will walk you through the set up of a new event.
Set Up New Event
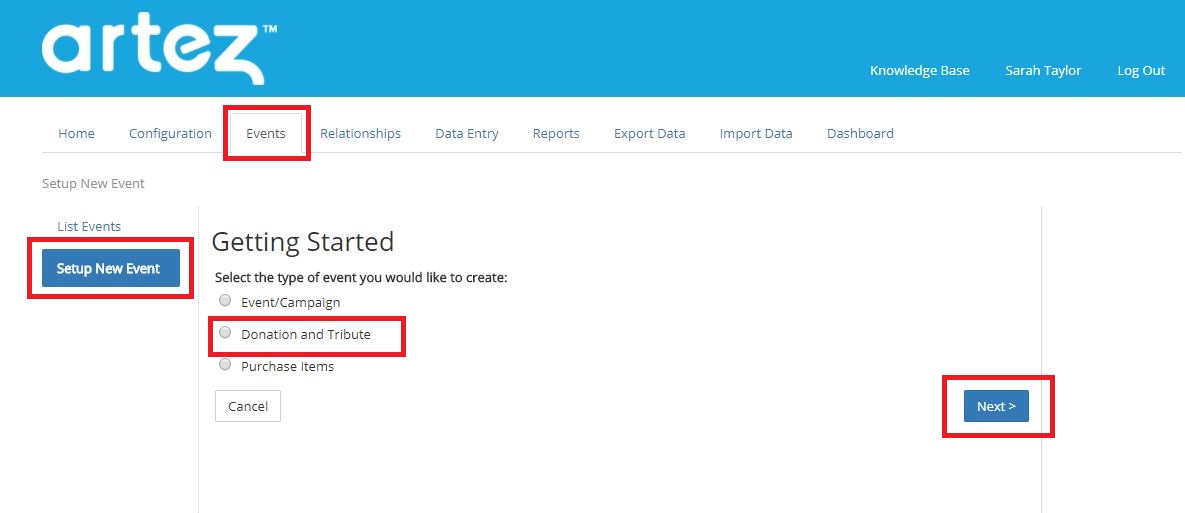
Once logged into your account, select the Events Tab and choose Set up New Event and then select Donation and Tribute and select Next
Copying a Previous Template
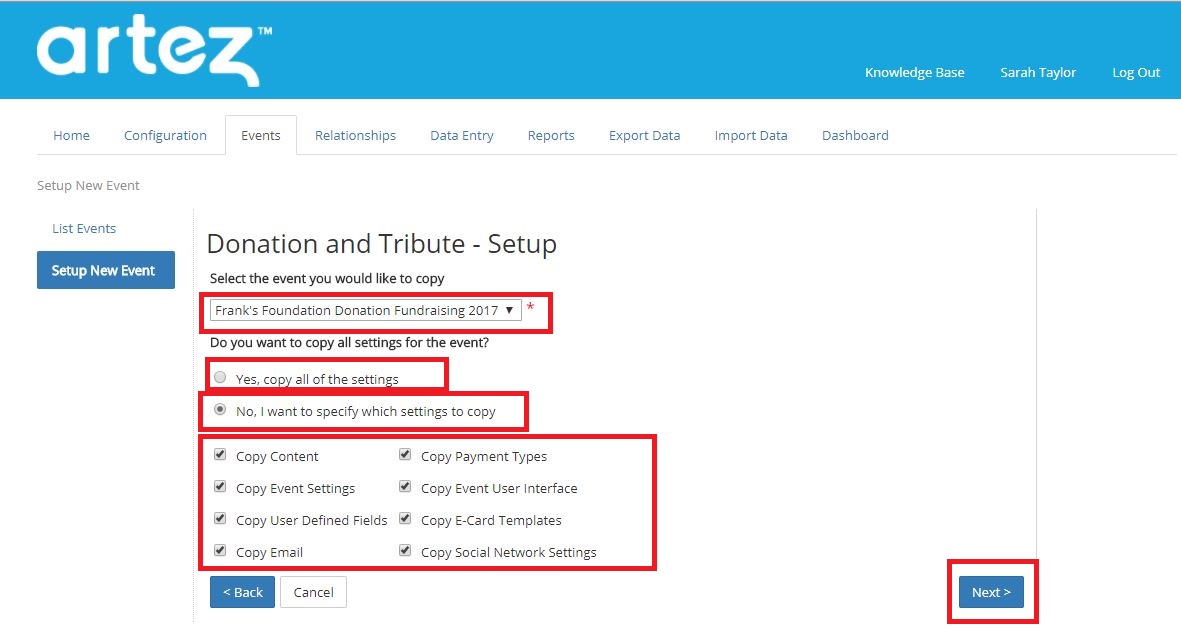
If you are looking to copy a previous Donation and Tribute Form choose I want to create a copy of an existing Event and choose the template in your account you want to copy. You will then have the option to copy all of the settings - however if you only want to copy some of them choose No, I want to specify which settings to copy and you can choose which parts you want to copy. To deselect a section, just uncheck the appropriate box and click next to complete your event set up.
Creating a New Template
If you are creating a new template you will walk through a few screens for set up to establish your settings
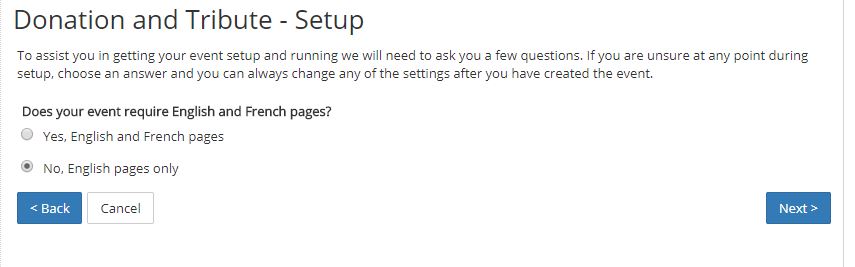
1. Choose what languages you will build this in - English only or French as well. Make your selection here. If you choose to enable English and French pages you will need to make sure to update both languages for content, creative, emails, etc.
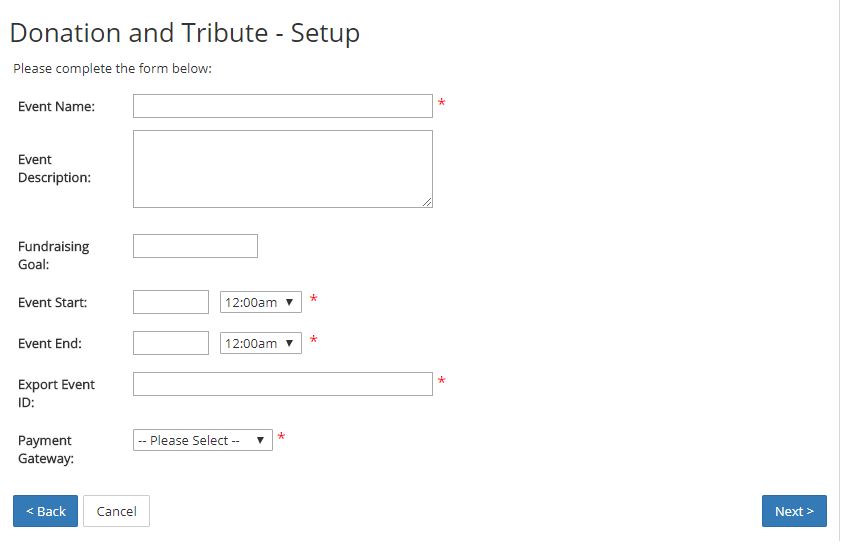
2. You will then set your Event Summary Details. Be sure to fill out all mandatory fields marked with a red *. These are all required fields. These can be changed in the future if you need to change them.
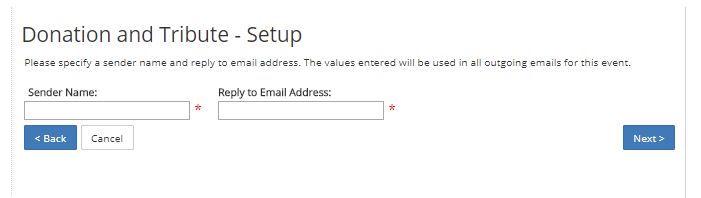
3. You will then be taken to a screen to input your Sender Name and Reply to Email address for your email set up. This is how your constituents.
4. You will then be asked some more questions specific to the donations of your event set up.
(Detailed description below image)
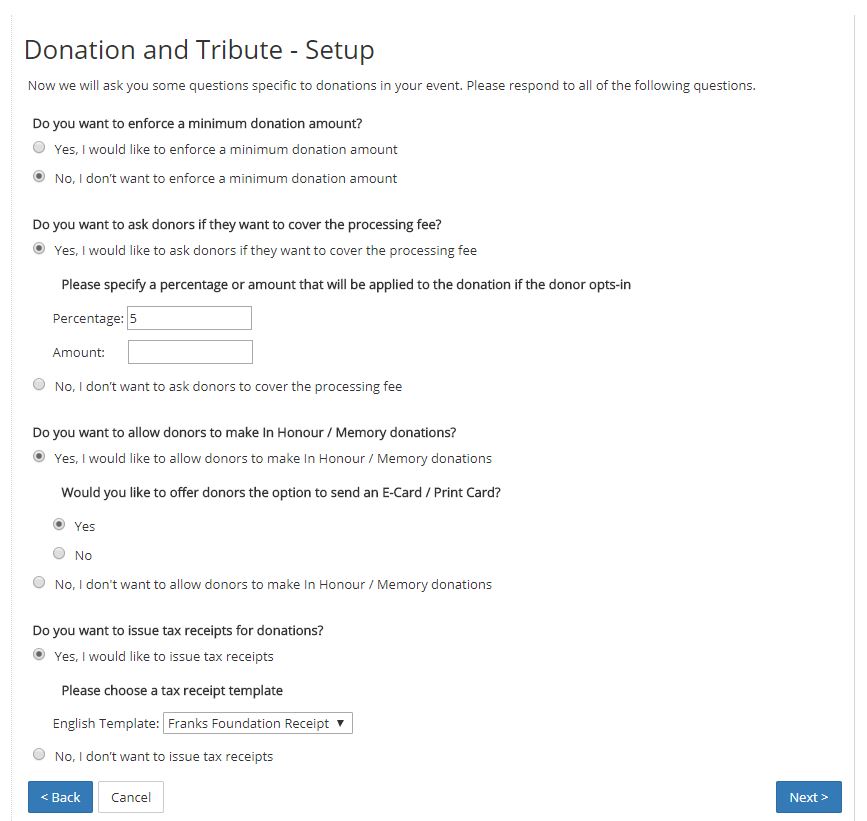
-If you would like to enforce a minimum donation select Yes, however generally this is not something implemented
-If you would like to ask donors if they would like to cover their processing fee, select yes and enter in a % or a $ amount. Note: do not input 100% as this will charge the donor 100% of the donation amount. In this section you want to set it to your actual transaction fee rates. Some clients will include the gateway fees as well. It is a best practice to turn this on and we usually see up to 40% of donors opt in to help cover the fees.
-If you would like In Honor and In Memory giving turned on, be sure to select Yes and then you will be asked if you want to offer Print or E-Cards, make your desired selection. If you do not want in honor and in memory giving your donations will be that of a 'general' donation type.
- If you would like to issue take receipts, be sure to select Yes and then choose your appropriate template (per language if applicable)
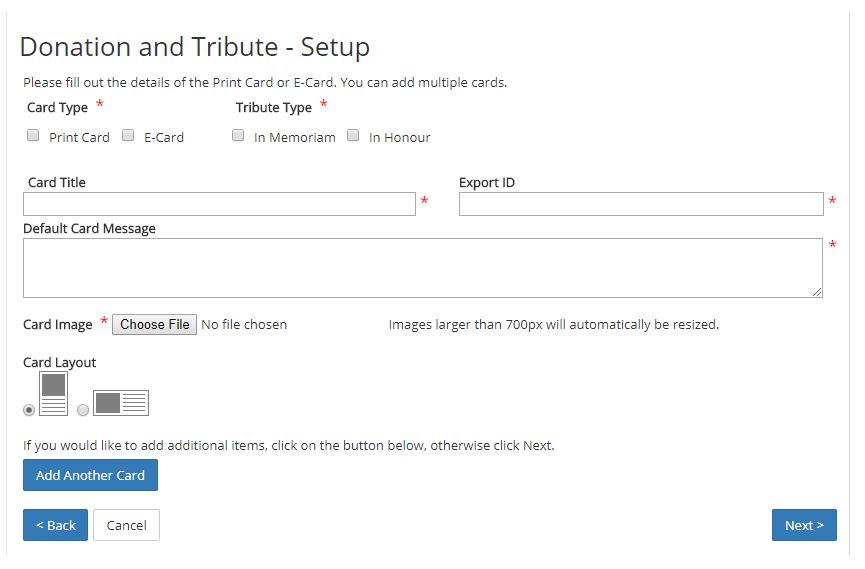
4. If you selected that you would like print or e-cards turned on, you will then be taken through to start your set up for cards
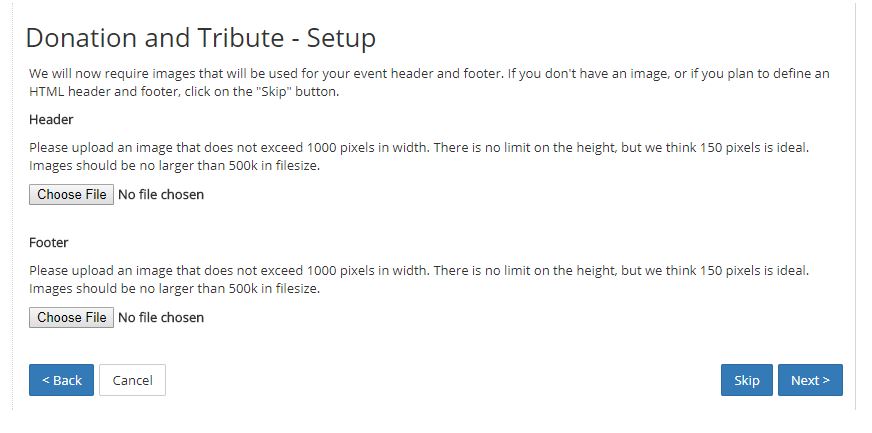
5. You can also upload your header and footer at this time. However if you do not have your creative completed you can skip this step for now and complete it later. However if you do have your creative, simply select the choose file button to upload your images
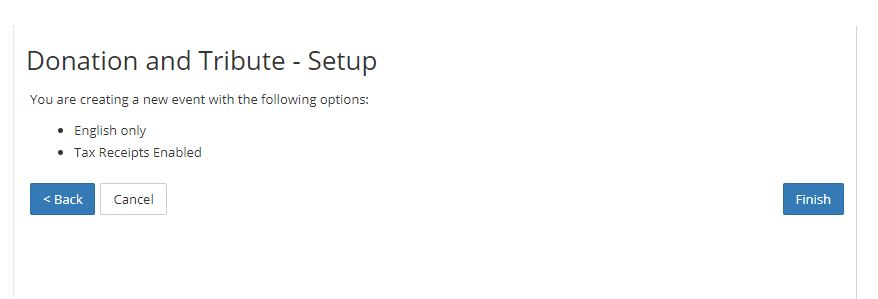
6. Before you hit Finish just confirm the details of your event set up. If you are happy with this, click Finish. If you need to go back, select back and make any updates you need to make
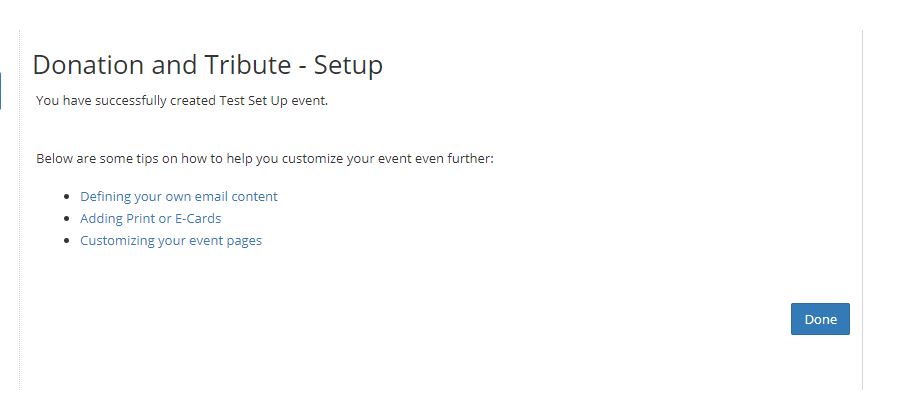
7. You will receive confirmation that your event is now set up and you will be given a list of actions you are reminded to complete. If you click on each of them they will take you right to the appropriate section.
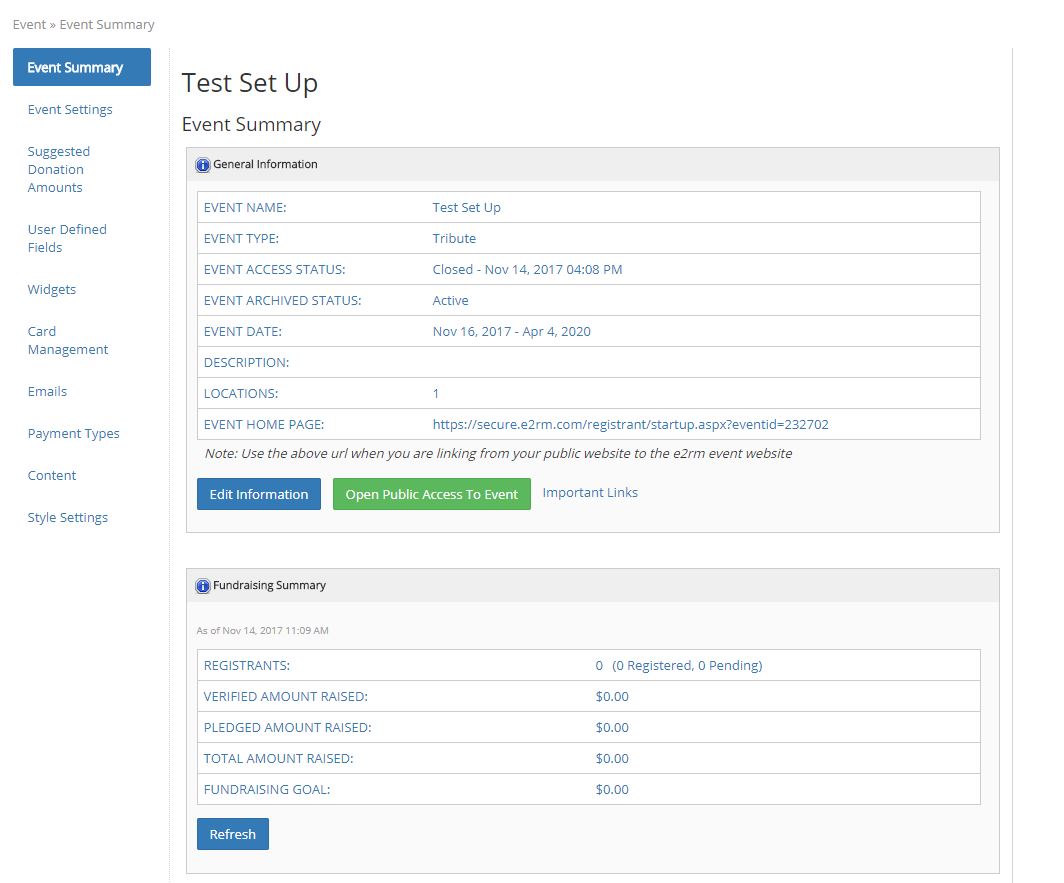
8. You will then be taken to the Event Summary once you select Done. This is where you will want to open your event to public access if you would like to see your form as you work on it. If you do not open the event it will show as closed as you work.
Take a look at the next few articles to walk through the rest of the event set up for your new Donation and Tribute Form.
Comments
0 comments
Please sign in to leave a comment.